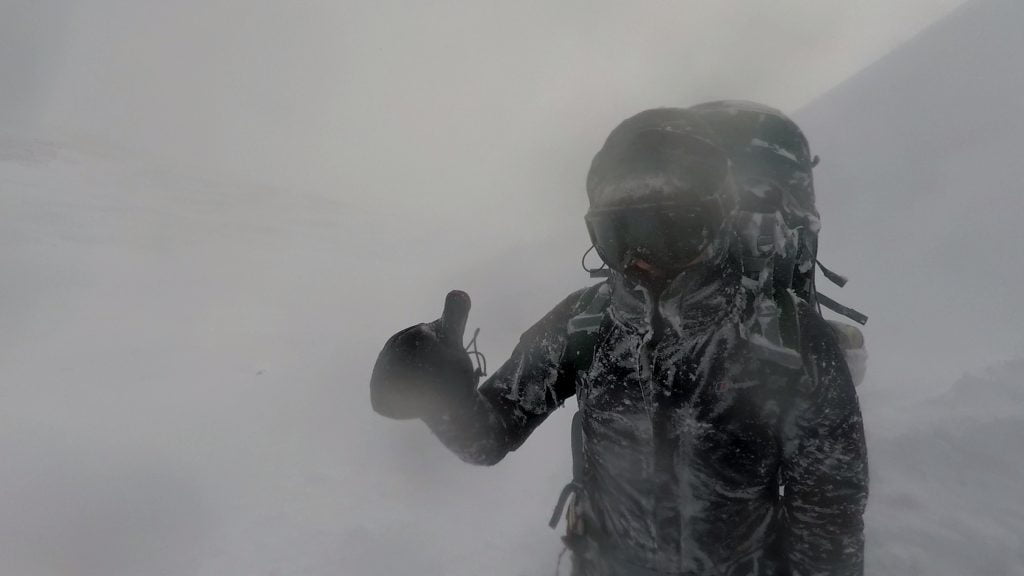




Like all good trips should, our snowhole trips always manage to start with a good strong coffee and planning session in the mornings. We manage to run numerous snowhole trips each season in the Cairngorms and every time this season we were the only people at the chosen sites. But before we go into trips themselves and some of the stories from them maybe we should start at the beginning… not everyone reading this will know what a snowhole is or why they are one of the coolest (literally) trips you can do.
Before we truly begin this blog, we feel the need to let people know that this article is not intended as a guide for how to build a snowhole. There will be some key tips and tricks that we have picked up along the way, but we cannot stress the fact that you need to have the correct equipment knowledge and skills. This is not something to do on a whim. And if people have never snow-holed before then we highly recommend booking someone to teach you the skills or going out with someone who already knows them. All of our four-day ski touring or winter skills courses include an overnight snowhole expedition – weather and conditions permitting.
Snowholes unlike igloos are typically dug into the snow. Thus, meaning you need considerable snow depth to be able to easily create one. This naturally means going into areas where there is a lot of snow and often quite high up in the mountains. As such you need to consider your venues very carefully to avoid avalanche risks and any ‘typical’ Scottish weather conditions. The winter mountains and plateaus in Scotland are not for the faint hearted or inexperienced in winter conditions. So come with Active for a safe, challenging and fun time.
We get a bit of luxury in the UK with the MWIS, SAIS and Ordnance Survey maps. These can lull us into a false sense of security. Nothing beats what you are feeling under your feet and seeing (hopefully) in front of you on the hill. You need to find a slope where there is lots of snow, but it is more complicated than that. Is the slope avalanche prone (we are not going into this here)? What direction is the wind blowing from? Will it alter its’ course at all during the night? What temperature is it outside? If it is rising, will the snowhole melt? Is my group experienced and fit enough to undertake this? Does the group all have the right kit? These are all crucial bits of information you need to consider and ask yourself and if the answer is not clear cut and good on any of them then maybe reconsider the options!
When you get to the chosen site first off make sure that the ground above you is good, choose somewhere where there is enough snow, but there isn’t a cornice ready to collapse on you during the night. Most avalanches happen on 30 to 45 degree slopes but they can happen all the way down to 15 degrees slopes. Whenever possible, choose snowhole sites on a windward slope or at least crosswind. This might save you having to get up continuously through the night to keep exits clear and to reduce the chance of asphyxiation.
In order to dig a snowhole in a less steep slope you first need to dig into the snow quite a way before starting to hollow it out otherwise you may well not find there is any room to do so. The first thing one should do, if possible with the conditions, is get some water – trust us you are going to need it further down the line! Put some water in a stove and then put snow in on top, this bit is important, so you don’t burn the snow. It is crucial that while digging you keep hydrated and if you haven’t been drinking then you are already (most likely) dehydrated. You may not even realise it until you go to the toilet and it looks like you have a bladder full of stout or dark ales! Now you want to test the depth of the snow, get an avalanche probe out and test to make sure it is deep enough. If you hit the ground then you probably want to go elsewhere unless you are a snowhole ninja or like digging and sleeping in frozen heather/mud (this is a joke it would destroy the ground please don’t do this!). If you got halfway through your snowhole and hit the ground without testing it first it would be demoralising realising you have wasted a lot of time for no benefit other than to start again and burn more calories.
The first things that are crucial are the entrance, the shape and the amount of snow. First off, the walls should be at minimum ideal depth of 1m to remain strong enough to handle the weight of snow. If you can see daylight, then you are getting too close to the light and need to change direction in which you are digging very quickly. You get different types of shapes for snow-holes, you get a rounded circular style snowhole and more of a tunnel shaped snow-hole. If you are digging a round one, then make sure the ceiling is rounded not flat. This will help with weight bearing, and any hot air will merge in the middle meaning no dripping or roof sag. It is possible to snowhole in temperatures above 0 degrees without a roof sagging if done correctly (although it is not necessarily recommended). With the tunnel shape you should aim to create an apex ceiling like an upside-down V (again for strength) and a meeting point for hot air to limit sagging or dripping of any melting snow.
Roofs that are too thin have been known to be an unwelcomed entry point for other hillwalkers. This can be an unpleasant surprise if you are cooking dinner or fast asleep. This can be a particularly nasty intrusion if your new guest is wearing crampons.
Starting off make sure the doorway is nice and wide to easily transport snow outside when you eventually get in, you can always make the door smaller again with blocks during the process if you so choose. But a nice wide door is going to save you time at the digging process. Ensure that you are always making the entrance slope downhill this lets gases escape and makes moving snow out the hole a lot easier during the process or if you are having to dig it out at all.
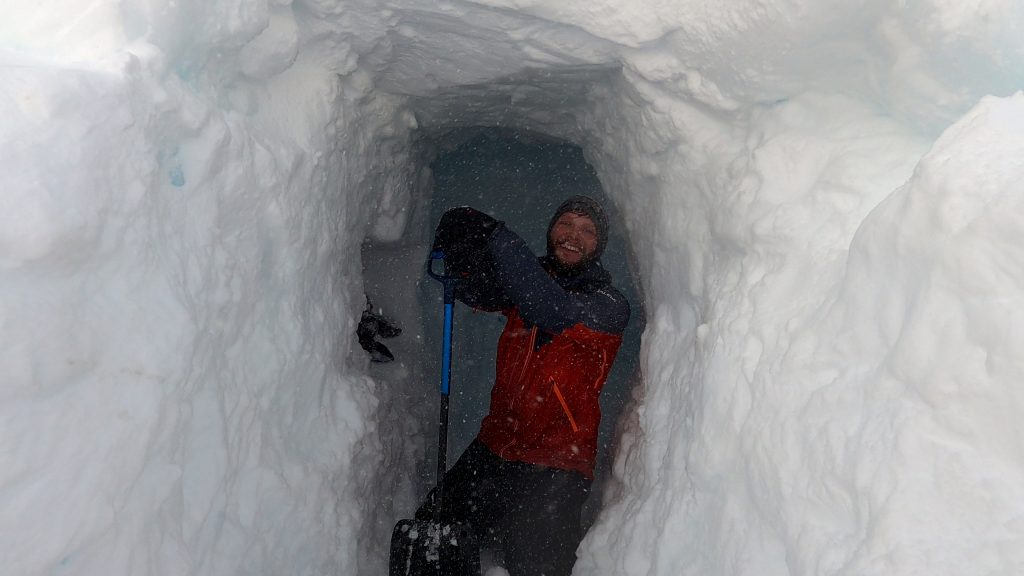
You want to dig in and up as well as sideways so the first port of call is just making a big hole – you can then worry about shaping it afterwards. The whole process depending on group fitness could take anywhere from an hour and a half all the way to five or six hours for an unfit group who hasn’t dug before. Once you can get inside then start working away at making the shape. If you are wanting to be a little bit warmer, then a couple of sleeping platforms really do help stay a tiny bit warmer overnight. As such, imagine a rounded snowhole, dig inwards, ensure at least 1m (depending on the consistency of the snow) of wall at the front, then after that, aim to dig longer than a person’s body into the snow, and from there out to the sides and up as well. This way you can have numerous people inside the hole and working on different bits of it at the same time maximising efficiency. Ensure that the surfaces are rounded off, so bits won’t drip at all over night. Continually ensure the ceiling is shaped correctly and once done flatten off wherever you are sleeping to make things that bit nicer for you. Once you are done and happy get everything inside and get out a dram! This bit is crucial for keeping morale high – possibly even the most crucial part… we will leave you to decide that one.
Make sure the hole is marked from the outside of possible as you wouldn’t want someone to walk over it and collapse it at all! An avalanche probe positioned above might work, ski poles might do it, or if there is more than one hole you can tie them together with a rope as well as the above options so you can always find each other. One of our instructors while out with friends woke up on their hourly alarm to find the doorway completely blocked with more than a metre and a half of snow in an hour. He dug them out, found the rope over to some of his mates’ snow hole, saw they were blocked in, dug them out and then found the rope over to another snow hole in the area to see they were blocked in as well and then proceeded to single handily dig them out as well. All this before even having a coffee…
Over the duration of the evening, even if there is no snow drifting and the entrance is not blowing in at all, ensure that alarms are set for people to wake up regularly, and make sure that if any snow is blocking the doorway it is moved. This means that you will always have light, air and not have to desperately backfill your snowhole trying to dig out in the morning…
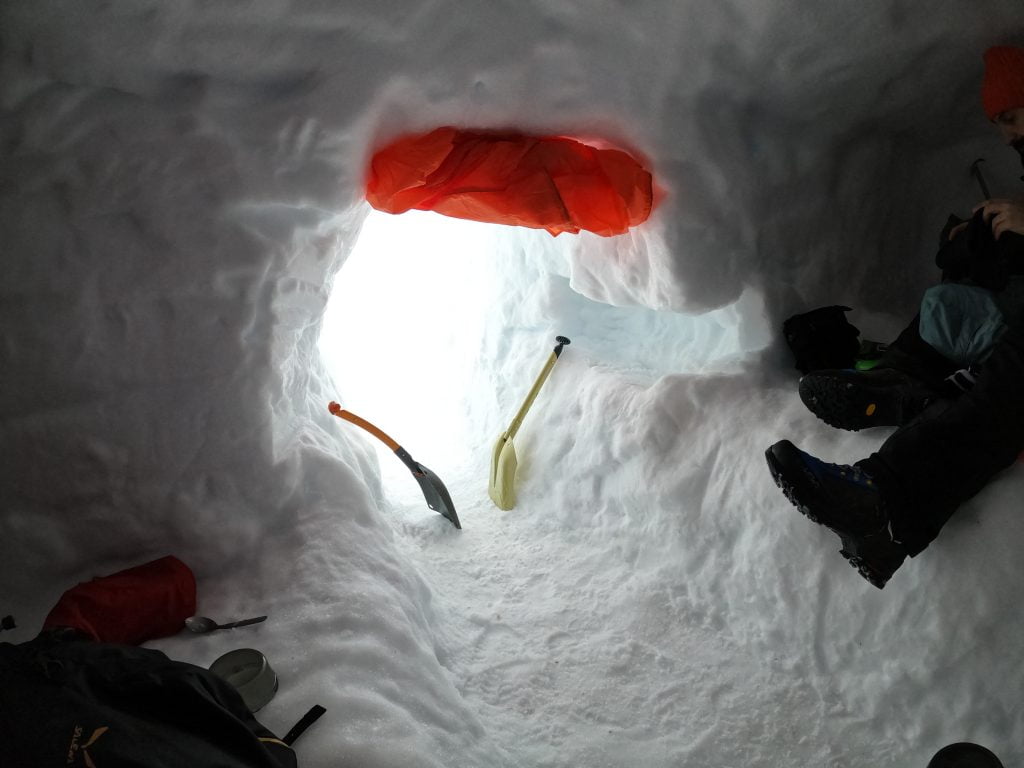
Snow hole sites are often close to water sources – regardless of whether they may or may not be covered over or frozen up. If lots of people go to the same sites and are inconsiderate or uneducated on the requirements for not leaving any waste then issues can easily occur. In the Cairngorms & Scotland thankfully we have a policy of carry everything out with you! If everyone was to use the same sites and then not carry waste out, come summer everything would eventually melt… you see where we are going with this!
You can find out more information here.
Both candles and stoves produce lethal unseen carbon monoxide gases. There are a couple of key tips to ensure that you know how to recognise the signs of any issues, and how not to get into issues in the first place! Firstly, when you are digging your snowhole you should have ensured that the ground going out of your snowhole is sloping downhill – this means that those heavy lethal gases will disappear outside of your snowhole and keep you nice and safe. If people start feeling dizzy, headachy or getting blue lips these can be warning signs of the gases not being adequately ventilated. In some places in the world you can add in ventilation holes but in Scotland because during winter the cold air often travels down into the valleys, we get away quite happily with a simple sloped exit and a couple of sleeping platforms. The sleeping platforms are more so you can cook on the ground and sleep just a little higher up staying a tiny bit warmer 😊. If your breath is drifting off to the side when you are breathing, then this is also a good sign the ventilation is adequate.
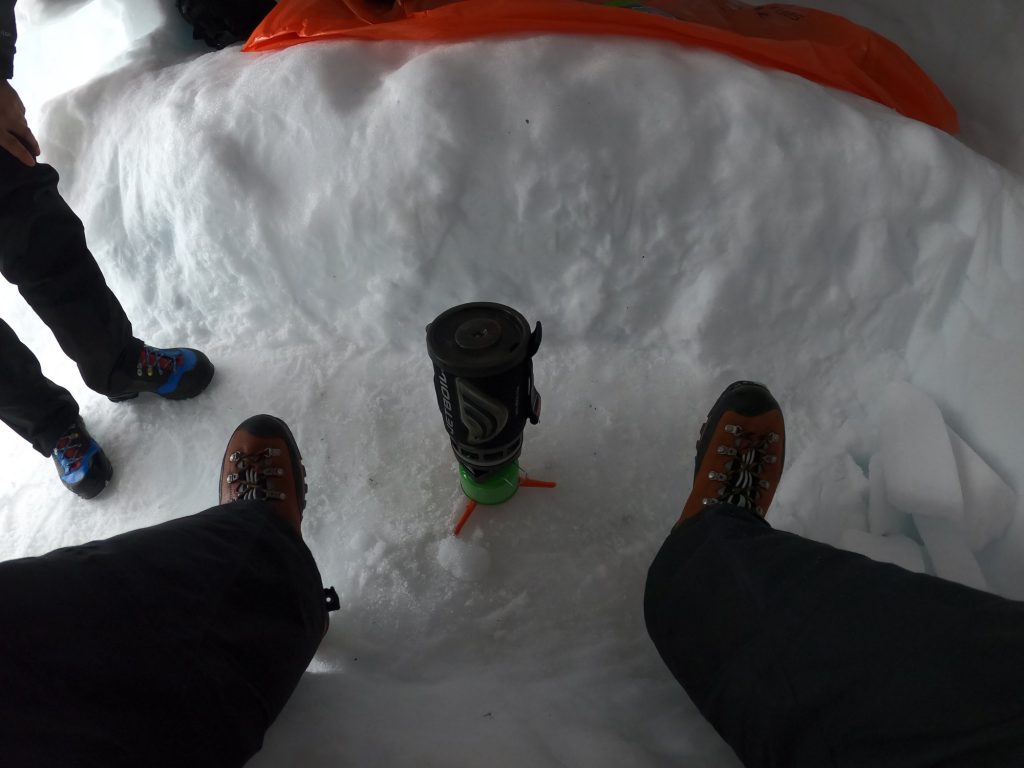
This sounds obvious, but you would be surprised. During a night snow-holing you need to regularly wake up and check the entrance of the snow-hole. Plain and simple snow gets blown around by the wind and you have dug your site where there is loads of snow. As such more will likely blow in during the night and start to block off the doorway. When we say we have literally woken up after an hour and had to move metres of snow we mean it! Equally there have been times where you dig and it blows in just as quickly so shovels need to be kept inside the snowhole… or in your hand if they are being used! They just might be the most crucial bit of kit you wished you had with you if you leave them outside to get buried. Naturally you should have checked the forecast wind speeds and directions in order to choose a windward or cross wind site if possible.
Ok it is cold in Scotland in winter, especially on the hills. Then to top it off you are digging into a load of really cold snow and sleeping in it… yep you are going to need good kit – a four season sleeping bag is a must and lots of warm layers, gloves, hats and a good thermos make life that little bit nicer. Scottish temperatures are often cold but mainly because of the ‘feels like temperature’ with the wind. It might feel close to minus twenty of thirty with the wind, but only be minus five. When you are in the snowhole, the temperatures are likely to be somewhere around -5 to 0 degrees – especially nowadays with climate change. Which when you think about it isn’t all too bad if you wrap up nice and cosy.
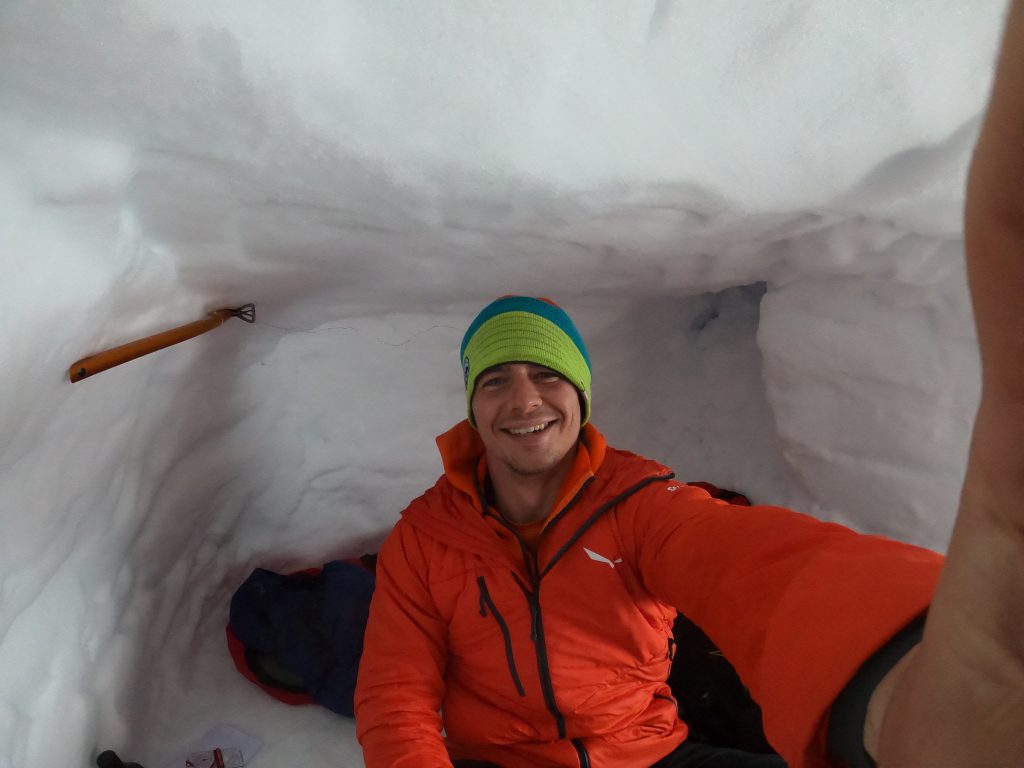
This depends on the person obviously and how much you are willing to carry some basic luxuries. Our staff always ensure they carry the first few items to make life that little bit nicer. It really is the little things in a snowhole that make all the difference to a trip.
Compass and maps – really wouldn’t recommend relying on a gps they can be wrong, a (full) story for another time but we have known a gps to literally put us 200 metres off the summit of a very popular hill when we were standing on the cairn
There were four of us total. We were running a four-day ski mountaineering course and the weather looked like it was going to be a good couple of days. Having checked all the weather forecasts and avalanche forecasts we decided that we could get a great ski tour and expedition in the Glen Feshie area.
We went to bed with high spirits and planned an 08:00 meet and leave shortly after in the morning to quickly swing past Tiso in Aviemore to pick up some food and a final decent coffee (essential!). We got to the Auchlean car park and headed off upwards as soon as we got out the van. The first couple of kilometres was a boot pack – the snow the previous couple of days had slowly started making it’s way back up the hill (the downside of sunny weather) but the freezing level was still down around 550 metres so it wasn’t long before the skis were on our feet and off our backs (lord knows that exped bags are heavy enough without having skis on them as well).
We opted for a tour up Meall Dubhag via its north-westerly shoulder which had a good coverage of snow and put us at little risk for any avalanche potential. From here we then skied off the summit and over towards Carn Ban Mor. The going on the way up was great as we decided we would take it in turns to switch out who was at the front (saving energy) but one chap decided he liked it at the front and was fine so we let him break trail most of the way upwards which worked out wonders for everyone behind.
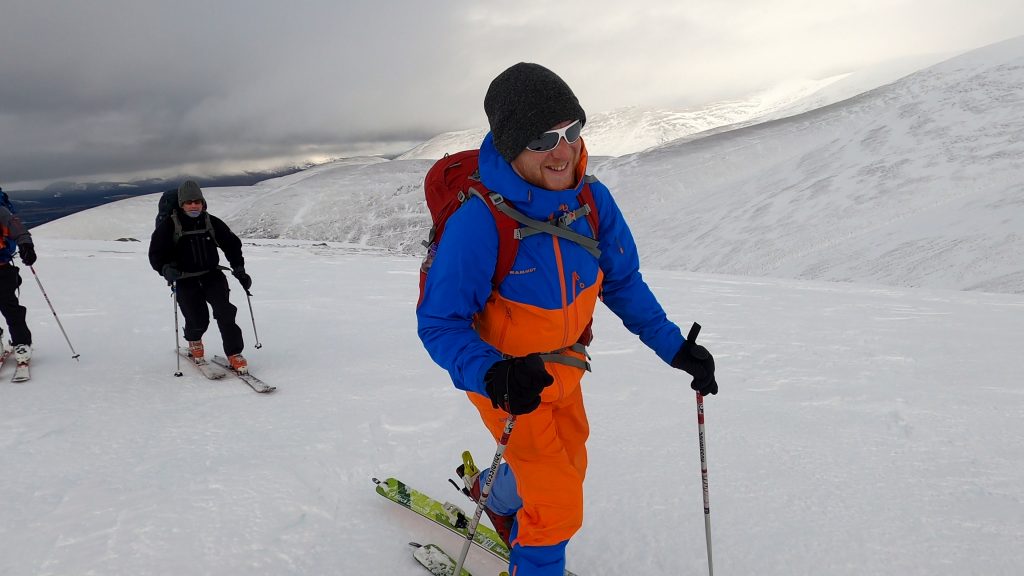
Once we skied over to Carn Ban mor, we realised that someone had clearly been there a week or so prior and dug a snowhole (really the opposite of everything you would every want in a snowhole, but it was a start. If it meant less shifting of snow for us, then that was great. The hole that had been dug previously had a doorway which went upwards instead of down and it was very shallow you couldn’t even sit up in it. It did not look like it was old or had slumped it just looked like someone had been lazy or did not know what they were doing. Nonetheless we were grateful as it saved us a good half hour of digging.
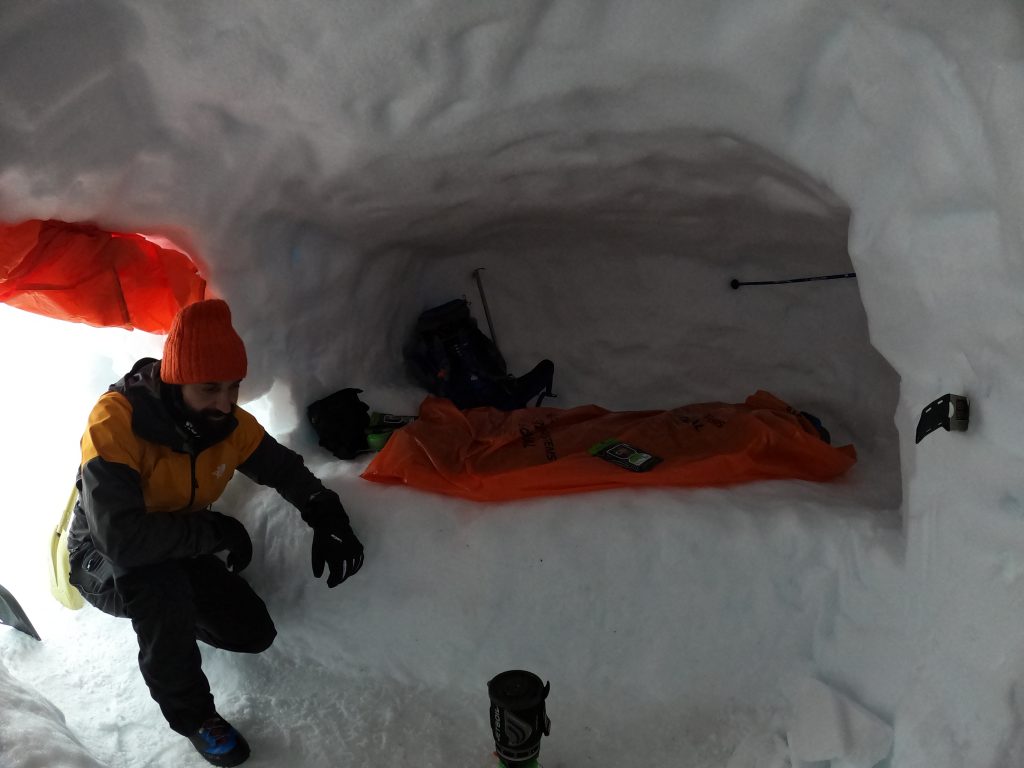
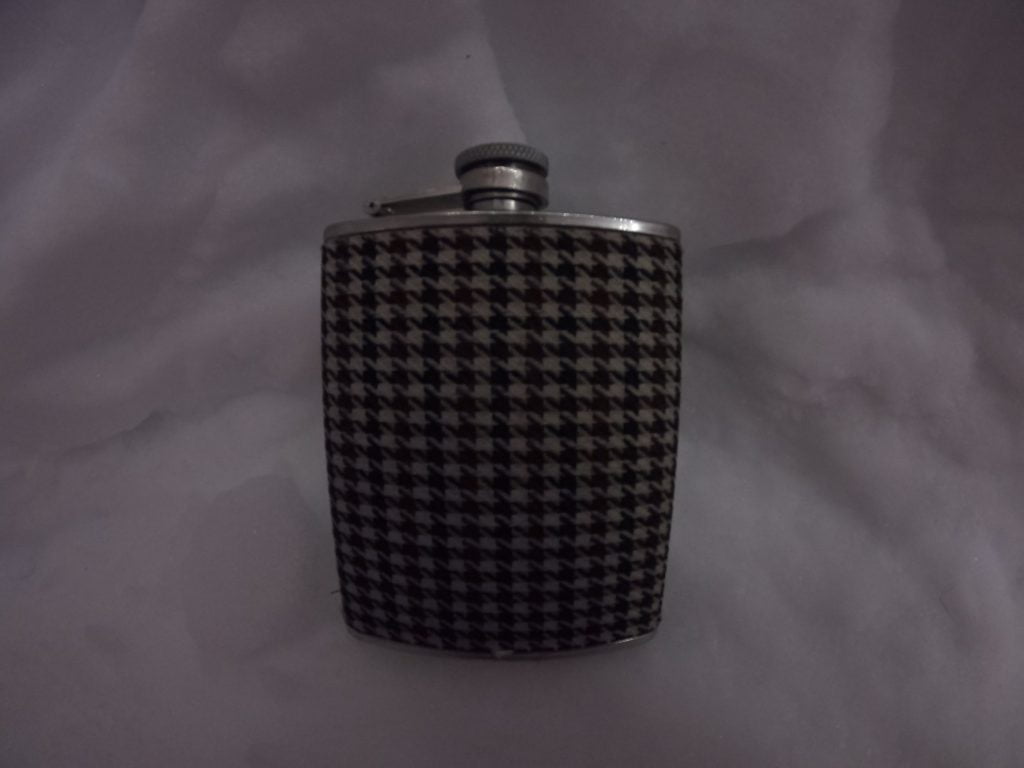
After a couple of hours of digging we were finished – we had a couple of sleeping platforms off to each side with more room and a much more rounded ceiling than the photo gives it credit for. We had pimped out our snowhole with fairy lights and had shared out the hip flask of whisky amongst us. We put the stoves on and had some dinner blethering about the plan for the next day. Day 1 had all been about getting to the site, day two was the ski back down via Sgor Gaoith.
Spirits were not just high; they were great as the forecast had been minimal snow the night and minimal winds. This mean that instead of waking up constantly to dig it out we set alarms every few hours poked our heads out to be happily content and then went back to sleep. We never once had to get out the snowhole to dig it out (which is virtually unheard of and in comparison to the previous weeks snow-holing experience it was amazing – the previous week was hourly shifts of constant digging all night. You dug and it came right back in at the same time it was nonstop and relentless).
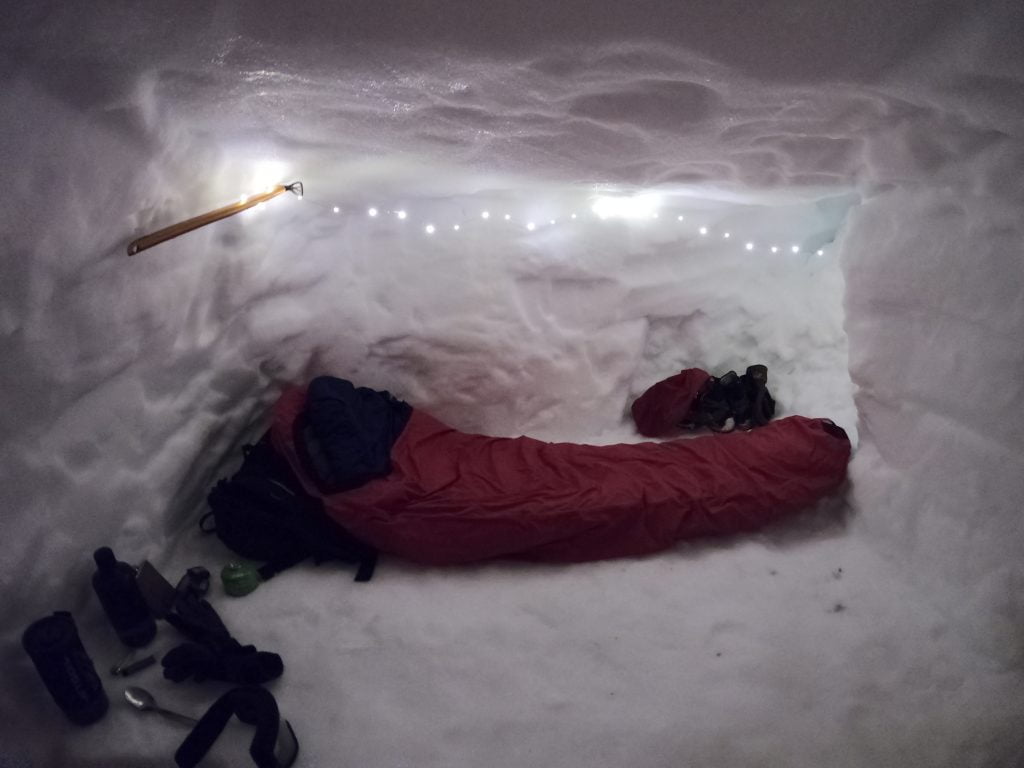
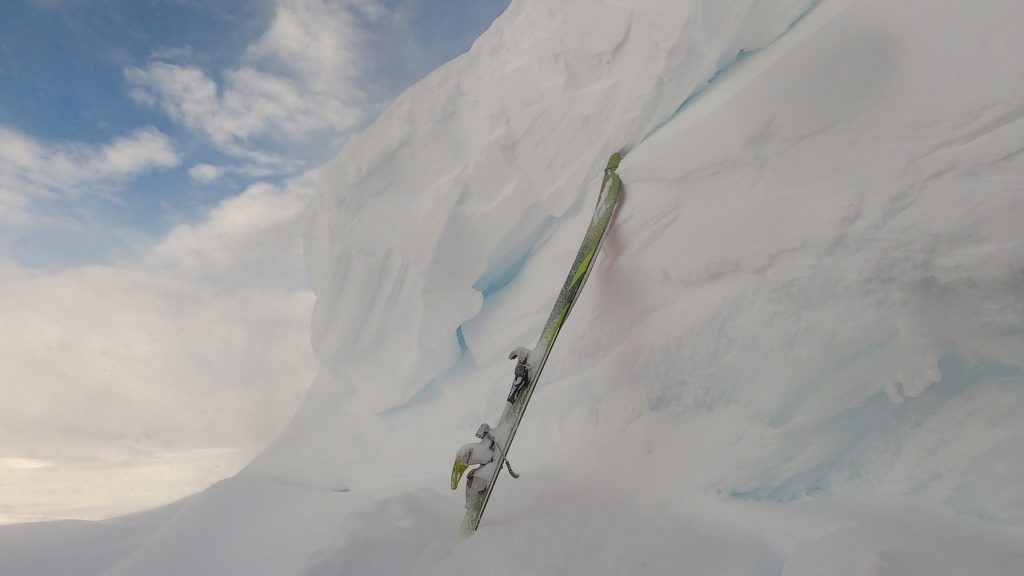
Having had the sleep of the gods (for snowhole standards) we all awoke in the morning to an unexpected turn of events – it was not sunny like forecast but the cloud was down over the mountains. We were confident that it would pass as it wasn’t forecast so we were in no hurry to have breakfast and a few coffees/teas. Once we were all happy and content, we left the snowhole and upon leaving it literally changed weather at the snap of your fingers. One second it was claggy, and the next… the photo says it all. We headed off up to Carn Ban Mor and then over to Sgor Gaoith – although the cloud occasionally came in meaning that navigational skills were essential and a bit of leapfrogging here and there.
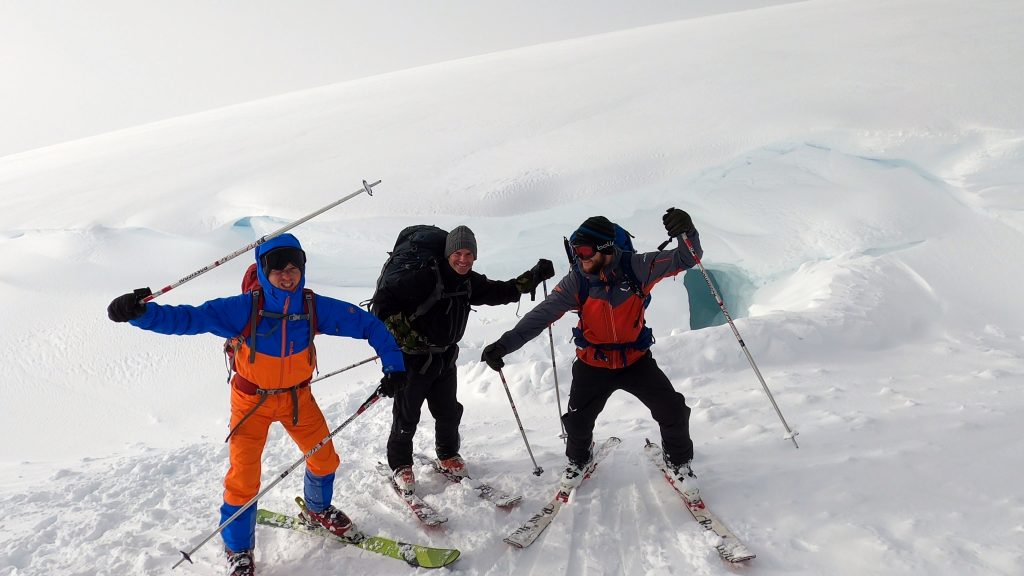
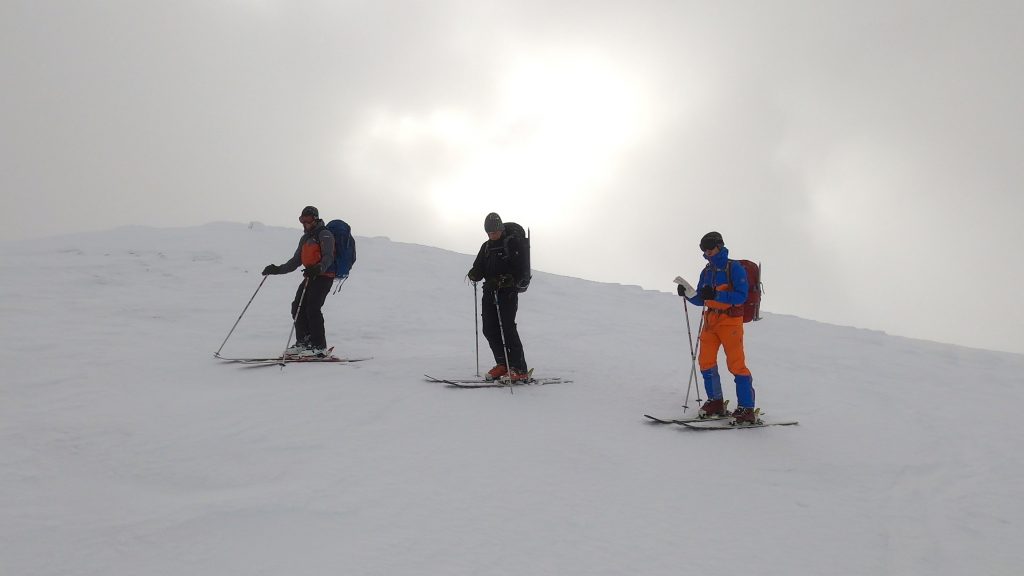
Once we got to the summit of Sgor Gaoith, we decided our plan to ski the gully we had hoped for was a good one and started to make our way off the summit and down. Taking it in turns leapfrogging as the weather had again decided to come in a little. But once again at the click of a finger it turned and started to clear. Jim thought it would be a great opportunity to grab a photo of the guys coming down off the hill (in the end the photo was rubbish) so told everyone to wait and skied twenty metres or so ahead to grab a photo. The ironic thing is about five minutes prior when we started to descend he said whoever falls first is buying the coffee and cake. Well… erm he ‘allegedly’ hit an invisible sastrugi and decked it right in front of everyone to a cacophony of laughter from everyone who made it very evident that the coffee and cake was on him. The only saving grace, all bar the last person down hit the exact same sastrugi which really was impossible to see in the light and all also decked it. Nevertheless, he is a man of his word and the coffee and cake was on him at the end of the day.
Having headed down under the cloud the blue sky again appear and we managed a ski down some phenomenal snow slopes making our way down to a wee burn which we had to step over as it was just flowing a wee bit much to risk the ski. There was a beautiful (if you are Eddy the Eagle) looking jump across but we opted for the more logical and safe approach as opposed to learning how to fly like a bird with rather long pointy things on its feet. Having made our way down, it was time to start heading back up the hill in order to ski down the other side and back down the hill.
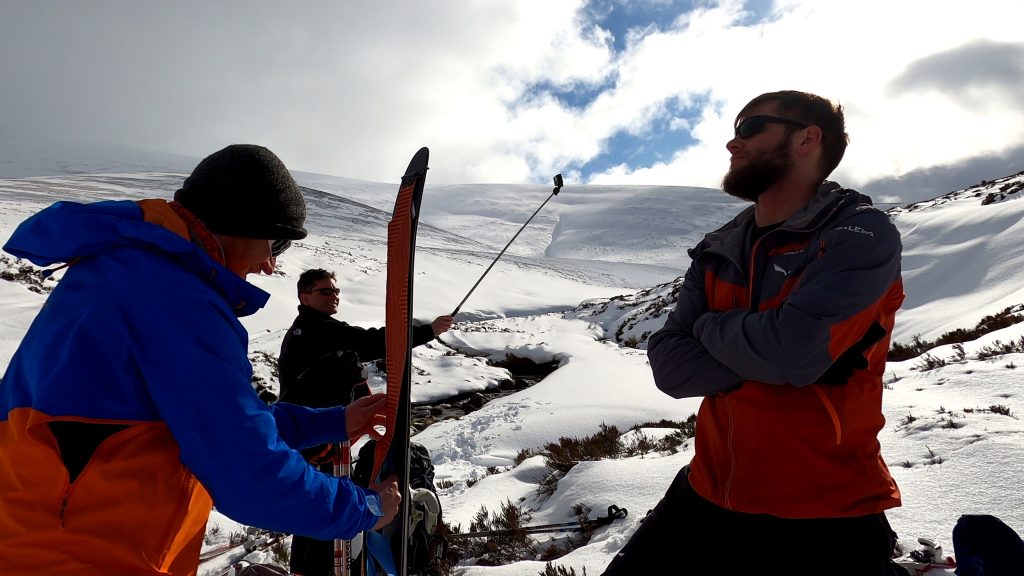
Having made our way back up the hill we noticed that the other side again had more snow melt lower down but picked a wee runnel of snow that took us back down and out (with a bit of heather hopping here and there) to the same point that we had previous walked in to the previous day. All that was left was to don the skis back on the bags and with weary shoulders yomp our way back out and go find a café! All in all, one of the best skis imaginable and some of the nicest weather to snowhole in. You couldn’t ask for more.
